Wednesday, 29 February 2012

Filming scene 1 part 2 and scene 4

These are some screenshots that I took from my footage of scene 1 part 2 and scene 4 in the industrial unit up at Woods Browning, which I made to look like a blank empty warehouse type space. I used two  cameras in the end but I only used them both at rare times, I really only used two because one had more of a wide angle lens, while one had one that was easier to zoom with, so I could tightly frame some shots. Although using two camera was good to create continuity, I couldn't help but think it wasn't entirely necessary, I could have just brought two different lenses with me. I used my own camera, and also the camera from my media department, which isn't as good as mine, but you barely notice the slight lack of quality. I used two very basic tripods, and if the photography department hadn't been locked up then I would have used the tripod on wheels so that I could smoothly pan and use camera movement in a fluid motion.


This footage isn't exactly how I want it to be in the final edit, so I will brightly colour it and add a bleach bypass effect to really make it seem like a dream/heaven. I lit this scene using a key lighting effect, with one light high up looking down which casts a warm tone onto the actors. Unfortunately there was lots of light being let into the building due to very large skylights on the roof of the space, so the lighting that I set up wasn't as effective as I would have wished. Although with some decent post production editing I know that this wont matter too much because the lights coming off the actor's faces will be able to seem very light and washed out with a simple effect added in Final Cut Pro, After Effects or Final Cut Studio's Color. Even though the setting that I was filming in had too much natural light that I couldn't shut off, I knew that this scene could still look good if I tried. The filming went smoothly, and after having a few run throughs and takes, I felt that I had enough footage to play with. I used a TASCAM BB800 connected via XLR cable to a Rode NTG-2 shotgun microphone on a boom pole to record the sound for this film, which meant I also had to monitor the sound levels as well as do all the actual filming. Luckily I had my dad there to hold the boom pole, so that I could set the sound levels, focus the cameras, click record on the sound, click record on the video and then monitor the audio via headphones while the cameras were rolling. Although a lot to think about, the quality of the sound produced was worth the effort and extra equipment, although I will still have to put the audio and video in sync during the editing process, which could also be another time consuming process.

Tuesday, 28 February 2012

Filming scene 1 part 1

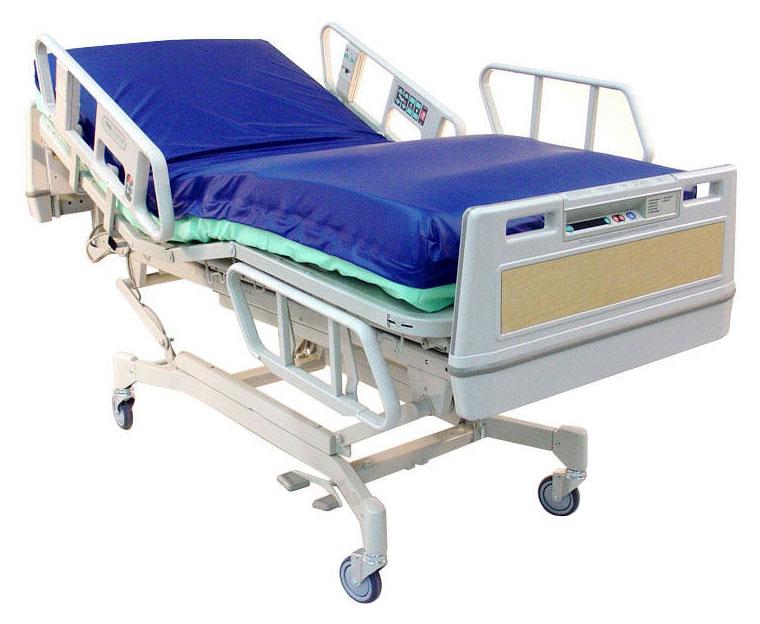
These are some screenshots that I took from my footage of scene 1 part 1 in the hair and beauty section of Woods Browning, which I made to look like a hospital. I only used one camera in the end, although I had two more at my disposal. I only used one because I knew this was a very short scene and I could easily just create continuity easily. I didn't use my own camera, I used photography's Canon 5D mk II, which has 21 megapixels in relation to my 60D's 18 megapixels. I also used the department's Manfrotto tripod which had an excellent smooth head for tilting and panning, which I then mounted onto some wheels to create a smooth panning shot without having to set up a jib or track.


I was very pleased with the acting for this scene, as I though Derek did a fantastic job of dying because some actors can portray death very dramatically, but although quite dramatic, I thought it was a very cinematic moment which I thought worked really well with the intimate and close camera shots that I chose. I stuck to the storyboard slightly, but I also decided to experiment with focus pulling up the bed too. When it comes to the editing, I know that I might use as little as two shots for this scene, but having lots of footage is going to help if some of the shots I have aren't decent enough or I need more variation.

Tuesday, 21 February 2012

Filming scene 2

These are some screenshots that I took from my footage of scene 2 in the woods. It was a relatively straight forward one camera shoot, but I spent a lot of time trying to think about how to create continuity with Jake's movement in the scene. I stuck to my storyboard as much as I could, but in the end I changed a few shots that I thought were necessary and added some in that I felt had to be included. I feel that it is better to have too much footage when going into the editing process than not enough. Making sure the theme flowed smoothly was time consuming, but worth it in the end, as I think the shots that I have chosen below have good framing, such as following the rule of thirds to create interesting composition.


 This scene was simply done with a one camera shoot, because it is as if the Elder is narrating over what is happening, so I didn't really need two cameras at the same time. For other scenes such as the hospital one, I need two camera to consistently create a good sense of continuity through fast paced dialogue between characters. I also took a few nature and weather shots incase I needed to take the sound of the clips and lay them into the background to make the dialogue less jumpy and stand out in the editing process.

I think that this is a good start to filming my film, and if the rest of the scenes that I shoot go as well as this, then I think that this film will be successful!

Saturday, 18 February 2012

Equipment Lists

These are my equipment lists that I have made for each scene, showing what I need to bring with me to each location to help create a professional, high quality film:

Scene 1 (part 1)

Canon 60D
Tripod on wheels
TASCAM BB-800
Rode NTG-2 Shotgun Microphone
XLR to XLR cable
1gb SD card
32gb SD card
Boom pole

Scene 1 (part 2)

Canon 60D
Canon 600D
2x tripods
TASCAM BB-800
Rode NTG-2 Shotgun Microphone
XLR to XLR cable
1gb SD card
16gb SD card
32gb SD card
Boom pole

Scene 2

Canon 60D
Manfrotto Modosteady
Opteka Video Stabilizer
Tripod
TASCAM BB-800
Rode NTG-2 Shotgun Microphone
XLR to XLR cable
1gb SD card
32gb SD card
Boom pole

Scene 3

Canon 60D
Canon 600D
Canon 5D mk II
Tripod on wheels
2x other tripods
TASCAM BB-800
Rode NTG-2 Shotgun Microphone
XLR to XLR cable
1gb SD card
16gb SD card
32gb SD card
8gb Compact flash card
Boom pole

Scene 4

Canon 60D
Canon 600D
2x tripods
TASCAM BB-800
Rode NTG-2 Shotgun Microphone
XLR to XLR cable
1gb SD card
16gb SD card
32gb SD card
Boom pole

Lots of this equipment is owned by myself, but I will also borrow various equipment from the media  and photography departments in school. 


Gauntlett goes to say that new media (and new media technologies) erodes the boundary between producer and audience to the extent that it makes little sense to talk about media audiences at all anymore: “Conventional research methods are replaced—or at least supplemented by new methods which recognise and make use of people's own creativity, and brush aside the outmoded notions of 'receiver' audiences and elite 'producers' (Gauntlett, 2007) This consequently erodes the boundary between the producer and the consumer, which is relevant through all my technology that I am using to shoot my film that wouldn't have been remotely available two years ago. I am lucky to be able to get my hands on this equipment, as some of it is rather expensive, but in relation to a fully budgeted feature film, the price of this equipment would be very minimal.

Filming Dates

Now that I know all of my actors are onboard, I need to sort out when I can get them at different locations on different days to complete my filming. Unlike a budgeted film, my actors aren’t actually getting paid money to star in my film, so I am worried that there might be a lack of incentive to work or make time to come and film with me. I will have to see how this plans out. But for now I have drawn up a list of dates for filming each scene in each location:

Scene 1 part 1
27th February
Hospital/Hair and Beauty/Woods Browning

Scene 1 part 2 and scene 4
29th February
Industrial Unit/Woods Browning

Scene 2
20th February
Respryn Woods

Scene 3
1st March
Hospital/Hair and Beauty/Woods Browning

Wednesday, 15 February 2012

Prop list


As a main part of mise en scene, props are a key aspect to consider when making a film. For instance, a period drama would need to have archaic items to create verisimilitude. But apart from creating realism and believability, props will also help support your narrative, for instance a dead rabbit is essential for my woods scene. Although I want to keep my props and scenery relatively low key, I want to create realism without having to try and create a particular time period. The following lists contain what props I will need for each scene:

Scene 1 part 1 (Hospital)

Hospital bed
Bedsheets
Lamp
Medical equipment
Wire chair

Scene 1 part 2 (Empty space)

Fold out camp bed
Bedheads
Pillow

Scene 2 (Woods)

Fake blood
Dead rabbit
Stones

Scene 3 (Hospital)

Hospital bed
Bedsheets
Lamp
Medical equipment
Wire chair

Scene 4 (Empty space)

Fold out camp bed
Bedheads
Pillow

Sunday, 12 February 2012

How I made my production company logo


This is a brief video consisting of screenshots which show how I created my production company logo in Adobe After Effects CS3.